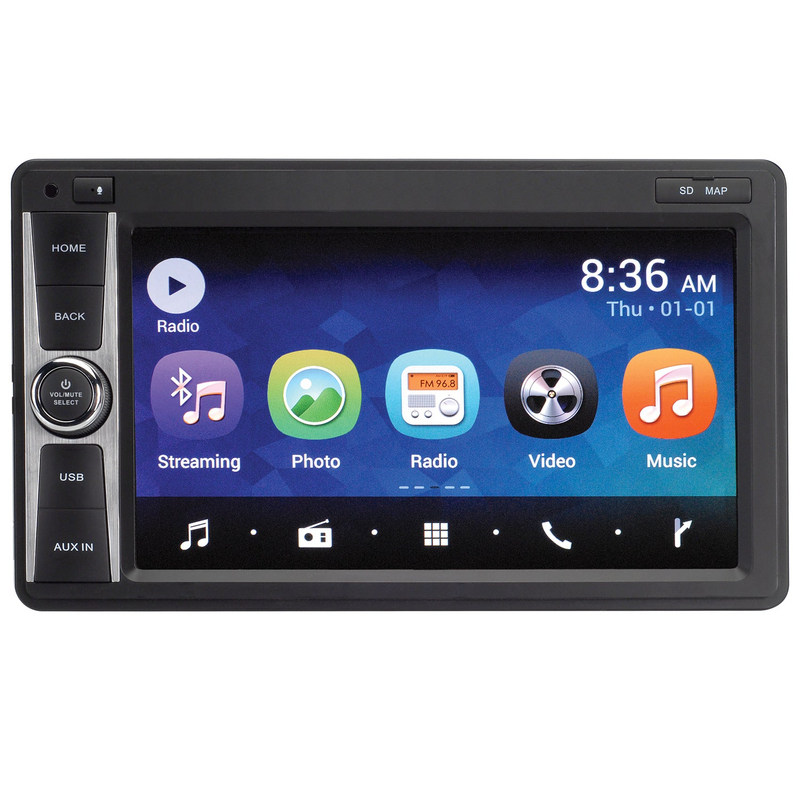
Wired Digital Remote Interface for Wagan Tech DC to DC Chargers and Pure Line EX power Inverters.
DC-DC Battery Chargers
The display will allow you to monitor your auxiliary battery's voltage and the incoming amperage from the alternator and/or solar panel.
Its bright color display is daylight readable and the intuitive user interface along with the simple 3-button controls makes using the Digital Remote Interface a breeze.
Pure Line Power Inverter
The Digital Remote Interface will only work with 2024 and newer Pure Line EX Power Inverters (coming soon!) This remote will control the Pure Line EX inverter settings including the AC frequency (Hertz), power save option, and low voltage alarm setting.
Currently, this will only work with:
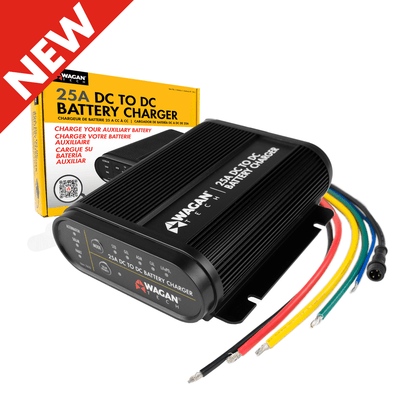
- 25A DC to DC Battery Charger (item number: 7410)
- 40A DC to DC Battery Charger (item number: 7411)
- Pure Line EX Inverters
Included Cables
The power cable has an RJ45 at one end and a 4-pin round connector (that connects to our DC-DC Charger) at the other end. This cable is approximately 16-feet long.
The Power Inverter cable has RJ45 connectors on both ends and is approximately 10-feet long.
 WARNING: This product can expose you to chemicals including DEHP, which is known to the State of California to cause cancer and birth defects or other reproductive harm. For more information, go to www.P65Warnings.ca.gov.
Specs
- Power Cable Length: 16' (192 inches)
- RJ45 (CAT-5) Cable Length: 10' (120 inches)
- Included: RJ45 Cable, Power Cable, Manual
- Warranty: 1 Year
- MPN: EL5605
Instructions
Warnings
- The remote display is designed specifically for us with the above-mentioned devices. Do not attempt to use this remote with any other devices
- Do not try to modify the connectors on this device or the accompanying cables. Any attempt to change the wiring to this display could damage either than remote display or the controlling device or both. Any such attempts will void the warranty for both this display and the controlling device
- Only use the connection cables provided with the display. Additional or replacement cables can be purchased on our website
- Keep away from water and condensation/water/extreme cold or heat. Do not attempt to disassemble the remote.
For installation of DC to DC charger only:
- Locate the 4-pin connector attached to the DC to DC Charger.
- Remove the plastic dust cover from the 4-pin connector.
- Connect the 4-pin connector from the connection cable to the DC to DC charger
- Connect the red wire attached to the connection cable to any 12V source in the vehicle – this will be used to power the display. Note: if the inverter will also be used with the display, connecting this red wire is not necessary.
- Feed the connection cable into the vehicle where you want to mount the display.
- Connect the RJ45 cable to the remote display
For installation of the inverter alone or both DC to DC charger and inverter:
- Locate the RJ45 to RJ45 cable included with the remote display
- Connect the RJ45 cable to the inverter remote port at one end and the remote display at the other end.
- Turn the power switch on the inverter to “remote” setting.
- The inverter on/off function is controlled by the remote display.
- Note: When the inverter is connected to the remote, the remote will receive power from the inverter, so the red wire on the DC to DC charger connection cable does not need to be connected. Tape off this wire to avoid accidental contact with conductive surfaces.
Remote Operation:
- Press and hold the select button to turn the display on. The display will show the Wagan logo during startup.
- Press the up and down arrows to switch between views
- Inverter status view: Press the select button to turn the inverter on/off
- Inverter settings view: Press the select button to enter setting mode. Note, this will shut the inverter off in order to change the settings. Press the up /down arrows to switch between settings and the select button to change the setting. Once setting is complete, press and hold the select button for 3 seconds. The remote will restart to save the program changes in the inverter
- DC Charger view: There are no settings or selections controlled in this view
First-Look at the new Digital Remote Interface
Description
Wired Digital Remote Interface for Wagan Tech DC to DC Chargers and Pure Line EX power Inverters.
DC-DC Battery Chargers
The display will allow you to monitor your auxiliary battery's voltage and the incoming amperage from the alternator and/or solar panel.
Its bright color display is daylight readable and the intuitive user interface along with the simple 3-button controls makes using the Digital Remote Interface a breeze.
Pure Line Power Inverter
The Digital Remote Interface will only work with 2024 and newer Pure Line EX Power Inverters (coming soon!) This remote will control the Pure Line EX inverter settings including the AC frequency (Hertz), power save option, and low voltage alarm setting.
Currently, this will only work with:
- 25A DC to DC Battery Charger (item number: 7410)
- 40A DC to DC Battery Charger (item number: 7411)
- Pure Line EX Inverters
Included Cables
The power cable has an RJ45 at one end and a 4-pin round connector (that connects to our DC-DC Charger) at the other end. This cable is approximately 16-feet long.
The Power Inverter cable has RJ45 connectors on both ends and is approximately 10-feet long.
 WARNING: This product can expose you to chemicals including DEHP, which is known to the State of California to cause cancer and birth defects or other reproductive harm. For more information, go to www.P65Warnings.ca.gov.
Specs
- Power Cable Length: 16' (192 inches)
- RJ45 (CAT-5) Cable Length: 10' (120 inches)
- Included: RJ45 Cable, Power Cable, Manual
- Warranty: 1 Year
- MPN: EL5605
Instructions
Warnings
- The remote display is designed specifically for us with the above-mentioned devices. Do not attempt to use this remote with any other devices
- Do not try to modify the connectors on this device or the accompanying cables. Any attempt to change the wiring to this display could damage either than remote display or the controlling device or both. Any such attempts will void the warranty for both this display and the controlling device
- Only use the connection cables provided with the display. Additional or replacement cables can be purchased on our website
- Keep away from water and condensation/water/extreme cold or heat. Do not attempt to disassemble the remote.
For installation of DC to DC charger only:
- Locate the 4-pin connector attached to the DC to DC Charger.
- Remove the plastic dust cover from the 4-pin connector.
- Connect the 4-pin connector from the connection cable to the DC to DC charger
- Connect the red wire attached to the connection cable to any 12V source in the vehicle – this will be used to power the display. Note: if the inverter will also be used with the display, connecting this red wire is not necessary.
- Feed the connection cable into the vehicle where you want to mount the display.
- Connect the RJ45 cable to the remote display
For installation of the inverter alone or both DC to DC charger and inverter:
- Locate the RJ45 to RJ45 cable included with the remote display
- Connect the RJ45 cable to the inverter remote port at one end and the remote display at the other end.
- Turn the power switch on the inverter to “remote” setting.
- The inverter on/off function is controlled by the remote display.
- Note: When the inverter is connected to the remote, the remote will receive power from the inverter, so the red wire on the DC to DC charger connection cable does not need to be connected. Tape off this wire to avoid accidental contact with conductive surfaces.
Remote Operation:
- Press and hold the select button to turn the display on. The display will show the Wagan logo during startup.
- Press the up and down arrows to switch between views
- Inverter status view: Press the select button to turn the inverter on/off
- Inverter settings view: Press the select button to enter setting mode. Note, this will shut the inverter off in order to change the settings. Press the up /down arrows to switch between settings and the select button to change the setting. Once setting is complete, press and hold the select button for 3 seconds. The remote will restart to save the program changes in the inverter
- DC Charger view: There are no settings or selections controlled in this view
First-Look at the new Digital Remote Interface
Reviews
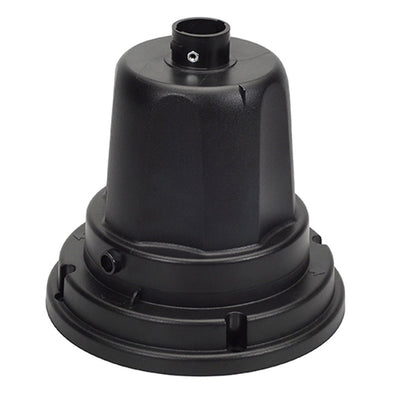 Magnadyne WF-B2T | Twist-On Roof Mount Wireless Repeater Enclosure Antenna Base
Choose a Color


